5 Ways to Renovate Your Rental in a Hamptons-Style
In this article, we will share some renter-friendly ideas to transform your home into a Hampton’s haven.
If you’re struggling with unsuitable flooring, inadequate lighting, dreary walls, or missing key Hamptons-style elements in your home, but can’t or don’t want to commit to big makeovers, this article is for you!
Whether you’re renting or own your home, and want to give it a Hamptons-inspired makeover without breaking the bank or committing to major renovations, here are some easy ways to add a touch of Hamptons style to your living space!
Dive in and discover how you can turn your home into the ultimate Hamptons retreat with 5 easy updates that won’t drown your landlord or your wallet!
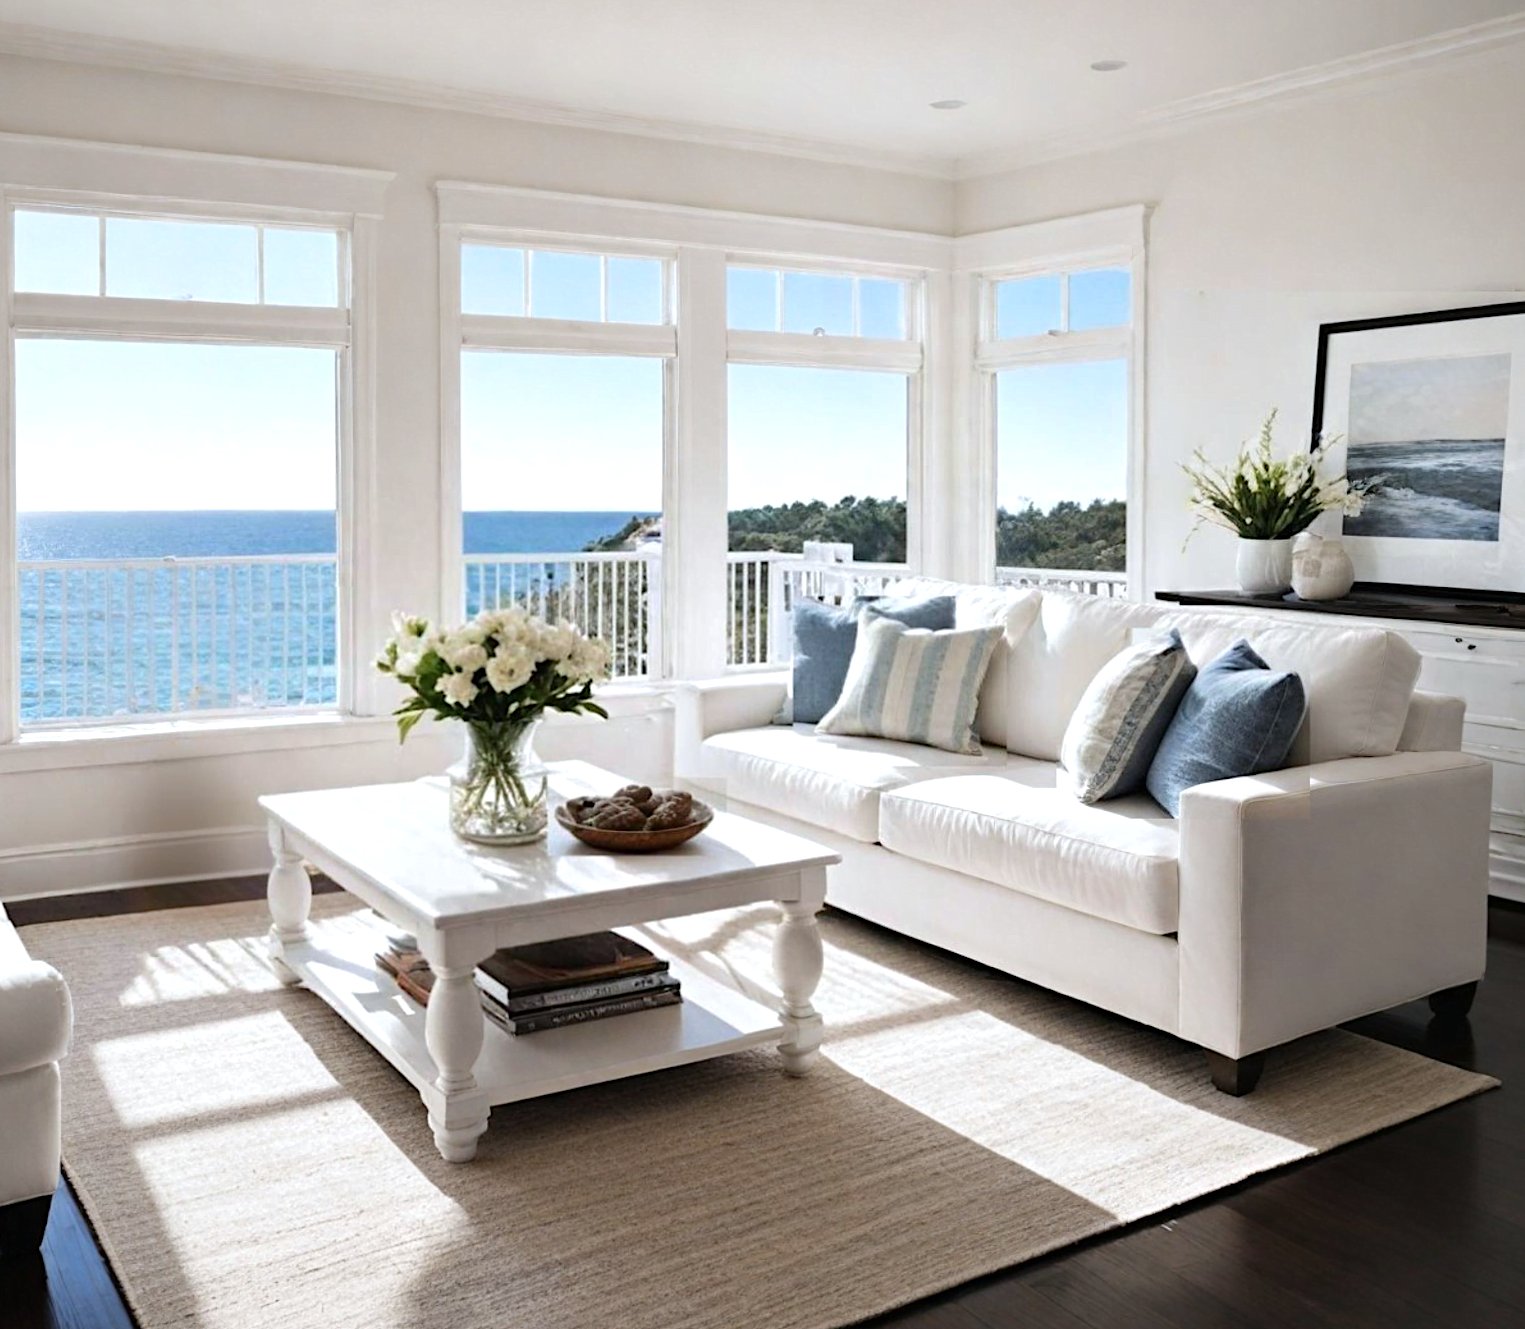
What Upgrades Can You Do in a Rental?
The laws and rules governing what you can and can’t change in your rental may vary depending on your location or the landlord’s policies. It’s essential to review your lease agreement and, if necessary, discuss any alterations with your landlord.
Although there may be restrictions in place for rental properties, there are still several upgrades you can consider to personalize your space and create a more comfortable environment without making permanent changes.
Focus on temporary and reversible upgrades that won’t violate the terms of your lease agreement.
Here are five ideas for reversible upgrades:
- Paint the Walls or use Wallpaper
- Temporary Flooring Solutions
- Window Treatments
- Lighting Fixtures
- Cabinet and Doors Hardware
1. Wall Paint or Wallpaper: Creating a Hamptons Vibe
If you have the option to paint the walls or apply wallpaper, selecting coastal-inspired tones can help you achieve a serene Hamptons aesthetic.
For spaces with limited natural light, consider shades of white or warm white with creamy-yellow undertones to establish a calming backdrop. The goal is to cultivate an open, airy atmosphere that embraces natural light.
Common warm off-white hues include names like “Chantilly,” “Linen,” “Paper,” “Ivory,” and “Pearl.” Purchase sample sizes and apply paint patches to different walls to observe how light influences each color.
Painting the walls in bright white or warm white can make a significant difference, instantly infusing your space with a coastal and Hamptons-inspired ambiance.
2. Renter-Friendly Flooring Solutions
Changing the flooring can significantly impact the overall appearance of your home.
The “wrong” flooring choice can detract from the breezy, coastal Hamptons aesthetic we’re aiming to achieve.
The good news is, if you’re dealing with outdated flooring or something that doesn’t align with a Hamptons-style home, you have the flexibility to make changes.
While updating your flooring may require a more substantial investment compared to painting walls, it’s a worthwhile expenditure that can completely rejuvenate your living space.
Rest assured, upgrading your flooring doesn’t necessarily mean breaking the bank! Additionally, since you can take the flooring with you when you move, it’s a savvy long-term investment.
What is the Best Flooring Color for the Hamptons?
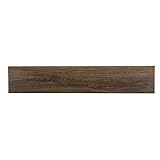
For a Hamptons-style home, opt for wood flooring in dark brown, medium brown, or light wood tones.
Dark and medium brown flooring exudes a classy, nautical vibe that aligns perfectly with the Hamptons aesthetic. However, light wood can be a preferable choice if you aim to enhance the room’s brightness or prefer a softer ambiance.
Can You Install Flooring Over Carpet?
In some cases, it’s possible to install flooring over carpet. However, it’s important to note that this approach might not always provide the best results or be suitable for all types of flooring. Installing flooring over carpet can be a temporary solution, and it’s essential to consider a few factors before proceeding.
- Laminate or vinyl planks are better suited for installation over carpet. These options are designed to float and don’t require adhesive or nails.
- The condition of the existing carpet is crucial. If the carpet is worn, uneven, or has a lot of padding, it might not provide a stable base for new flooring. Ensure the carpet is clean, flat, and in good condition before proceeding.
- Keep in mind that adding new flooring over carpet can increase the overall height of the floor. This can lead to issues with doors, transitions, and room transitions.
- Laying down plastic sheeting first or sheets of plywood over carpet and then installing the vinyl floor on top often does the work.
You’ll find many tutorials on youtube for installing floating flooring over carpet.
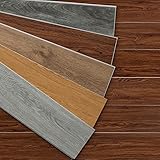
Peel-and-Stick Flooring
Peel-and-stick flooring is all the rage these days.
These are ultra-thin vinyl sheets that are built to last and come in a variety of realistic wood textures. And, the best part? You don’t need to shell out a ton of cash or hire a professional to install them! It’s like putting together a giant puzzle.
But there are a few things to keep in mind. While peel-and-stick floors are often advertised as being perfect for renters, they can be a bit tricky to remove from certain surfaces. In fact, if you stick them to a wooden floor, you may run the risk of damaging the finish when it’s time to take them up. It’s a good idea to add a plastic sheet or padding between the existing floor and the peel and stick planks.
Click-lock floors
If you’re looking for a more resistant flooring solution than peel-and-stick, vinyl or laminate click-lock floors might be just what you need!
Although they come with a slightly higher price tag, these planks are built to last longer. They’re thicker, sturdier and easy to put together with their handy click-and-lock system.
Sure, the installation process might be a bit more involved than peel-and-stick, but it’s worth it!
3. Window Treatments
Nothing like some beautiful white plantation shutters to balance the formality of the Hamptons style and instantly take you to a summer home. However, real plantation shutters can be expensive.
If it’s your own home, it’s worth the investment, but if you don’t want to spend too much money or if you’re renting, then here are some options:
- Vinyl blinds: regular or faux wood
- Zebra blinds.
These are the most affordable and non-committal choices to simulate a plantation shutter. Vinyl and zebra blinds can cost about the same, overall the effect is the same, they’re both easy to install and they come in several sizes to fit your windows.
Vinyl Blinds
When it comes to vinyl blinds, they are the most similar to plantation shutters, but the slats are thinner and they are not fixed to the window frame.
Vinyl blinds can be plain or imitate wood. Both options are great.
They are durable and water resistant. They can be customized to fit any window size and shape, and they come with a variety of lift and tilt options for easy operation: cord, cordless or automated.
You can dust them with a soft brush, or clean them with a soft cloth, water and soap and you can buy individual slats in case some get damaged.
And, If you can’t drill holes, ou can buy a no-tool-no-drill option!
Faux wood blinds
Faux wood blinds, also known as fake wood blinds, mimic the look of real wood blinds, but they’re made from synthetic materials, like vinyl. They can give a warmer feel because they imitate wood.
Regular vinyl blinds
Instead of faux wood, you can choose plain vinyl slats. They’re exactly like faux wood blinds, except that they don’t imitate the veins of the wood.
They can be cheaper for that and there’s nothing against them. Not all plantation shutters are made of wood. So, don’t feel less for choosing non-faux.
Zebra blinds
Zebra blinds are like horizontal blinds but with sheer fabric holding the slats.
They’re made of a type of gauze and sturdy polyester slats that lets the light in through them, just like a plantation shutter.
The shade runs in a roll, making two layers and when you line up the stripes of both layers, the blinds close. And when you offset the stripes, the sheer fabric lets the light in through them, and you get the plantation shutter or horizontal blinds effect.
You can also pull them up like regular blinds and let the window completely naked!
They are easy to install and use, and they can be adjusted to fit the window.
When it comes to maintenance, they can be dusted with a feather duster, a soft brush, or cloth, and carefully spot clean with water and gentle soap.
4. Update the Lighting
So, now that you have maximized the natural light by painting the walls bright and adding horizontal blinds, it’s time to address the artificial light to make the home cozy and beautiful at night and dawn.
This means adding Hamptons-style ceiling lights, table lamps, wall sconces, gallery lights and even shelf lights.
Sounds simple, however sometimes this is not possible.
Whether it’s your own home or a rental, there are some issues that can prevent you from spreading the light throughout your home:
- Wrong existing lighting
- No wiring or misplaced wiring.
1. Update the Light Fixtures
One of the most common things in a rental home is the poor choice of light fixtures, especially on the ceiling.
Boob lights, spotlights, or any other outdated basic light fixtures are typically used because they’re cheap and only serve the purpose of lighting up a room so you don’t stumble in the dark.
They can be great conversation starters, but when it comes to style? Bland, to say the least.
But this is easily solved. You simply replace them with a beautiful Hamptons-style light.
Just find a suitable ceiling light and mount it in the same place. Keep the originals in a box out of sight and install them back once you move out.
2. No Wiring or Misplaced Wiring
Another common issue, whether your renting or you’re the homeowner, is the lack of wiring in some areas where you want to put lights.
Fortunately, for the walls, there are battery-operated, no-wiring lights that fit the Hamptons-style perfectly!
If you don’t like the idea of changing batteries once in a while and you don’t mind seeing the cord, you can choose plug-in wall sconces.
Rechargeable bulbs!
The other alternative is using rechargeable bulbs.
The good thing about rechargeable bulbs is that they are like a regular bulb that fit any lamp so you can place a table lamp, wall light, or ceiling light anywhere!
They last a decent amount of hours before you need the recharge them, they are remote controlled, so you can easily turn them on and off, and they are very inexpensive.
5. Doors and Cabinets – Change the knobs!
While white doors and cabinets can look stunning in a Hamptons-style home, it’s important to get permission before painting them. Unless you’re painting over existing paint, it can be tricky to go back to the original wood finish.
Contact paper may seem like a quick fix, but it can turn into a disaster. Not only will you need a lot of it to cover every door, the seams and edges will also be visible. Plus, it can peel off and damage the original finish. While contact paper can be great for some DIY projects, it’s not always the best choice for finished materials with some type of coating. You don’t want to be stuck with a peeling mess.
A simple solution to give your doors and cabinets a Hamptons-style makeover is by changing the doorknobs! Swapping them out is a breeze, similar to replacing light fixtures.
Just remember to keep the original knobs so you can easily switch them back when you move out.
To achieve that classic Hamptons look, opt for affordable yet elegant brass or black round knobs or pull handles. These will give your doors a touch of sophistication without breaking the bank.
Putting it All Together.
You don’t need to settle for a home that doesn’t give you those Hamptons vibes just because you can’t afford or don’t have permission to make permanent renovations.
With these 5 temporary solutions, you can easily transform your living space into a stunning Hamptons-inspired retreat.


